Making of Early – Circles Layout
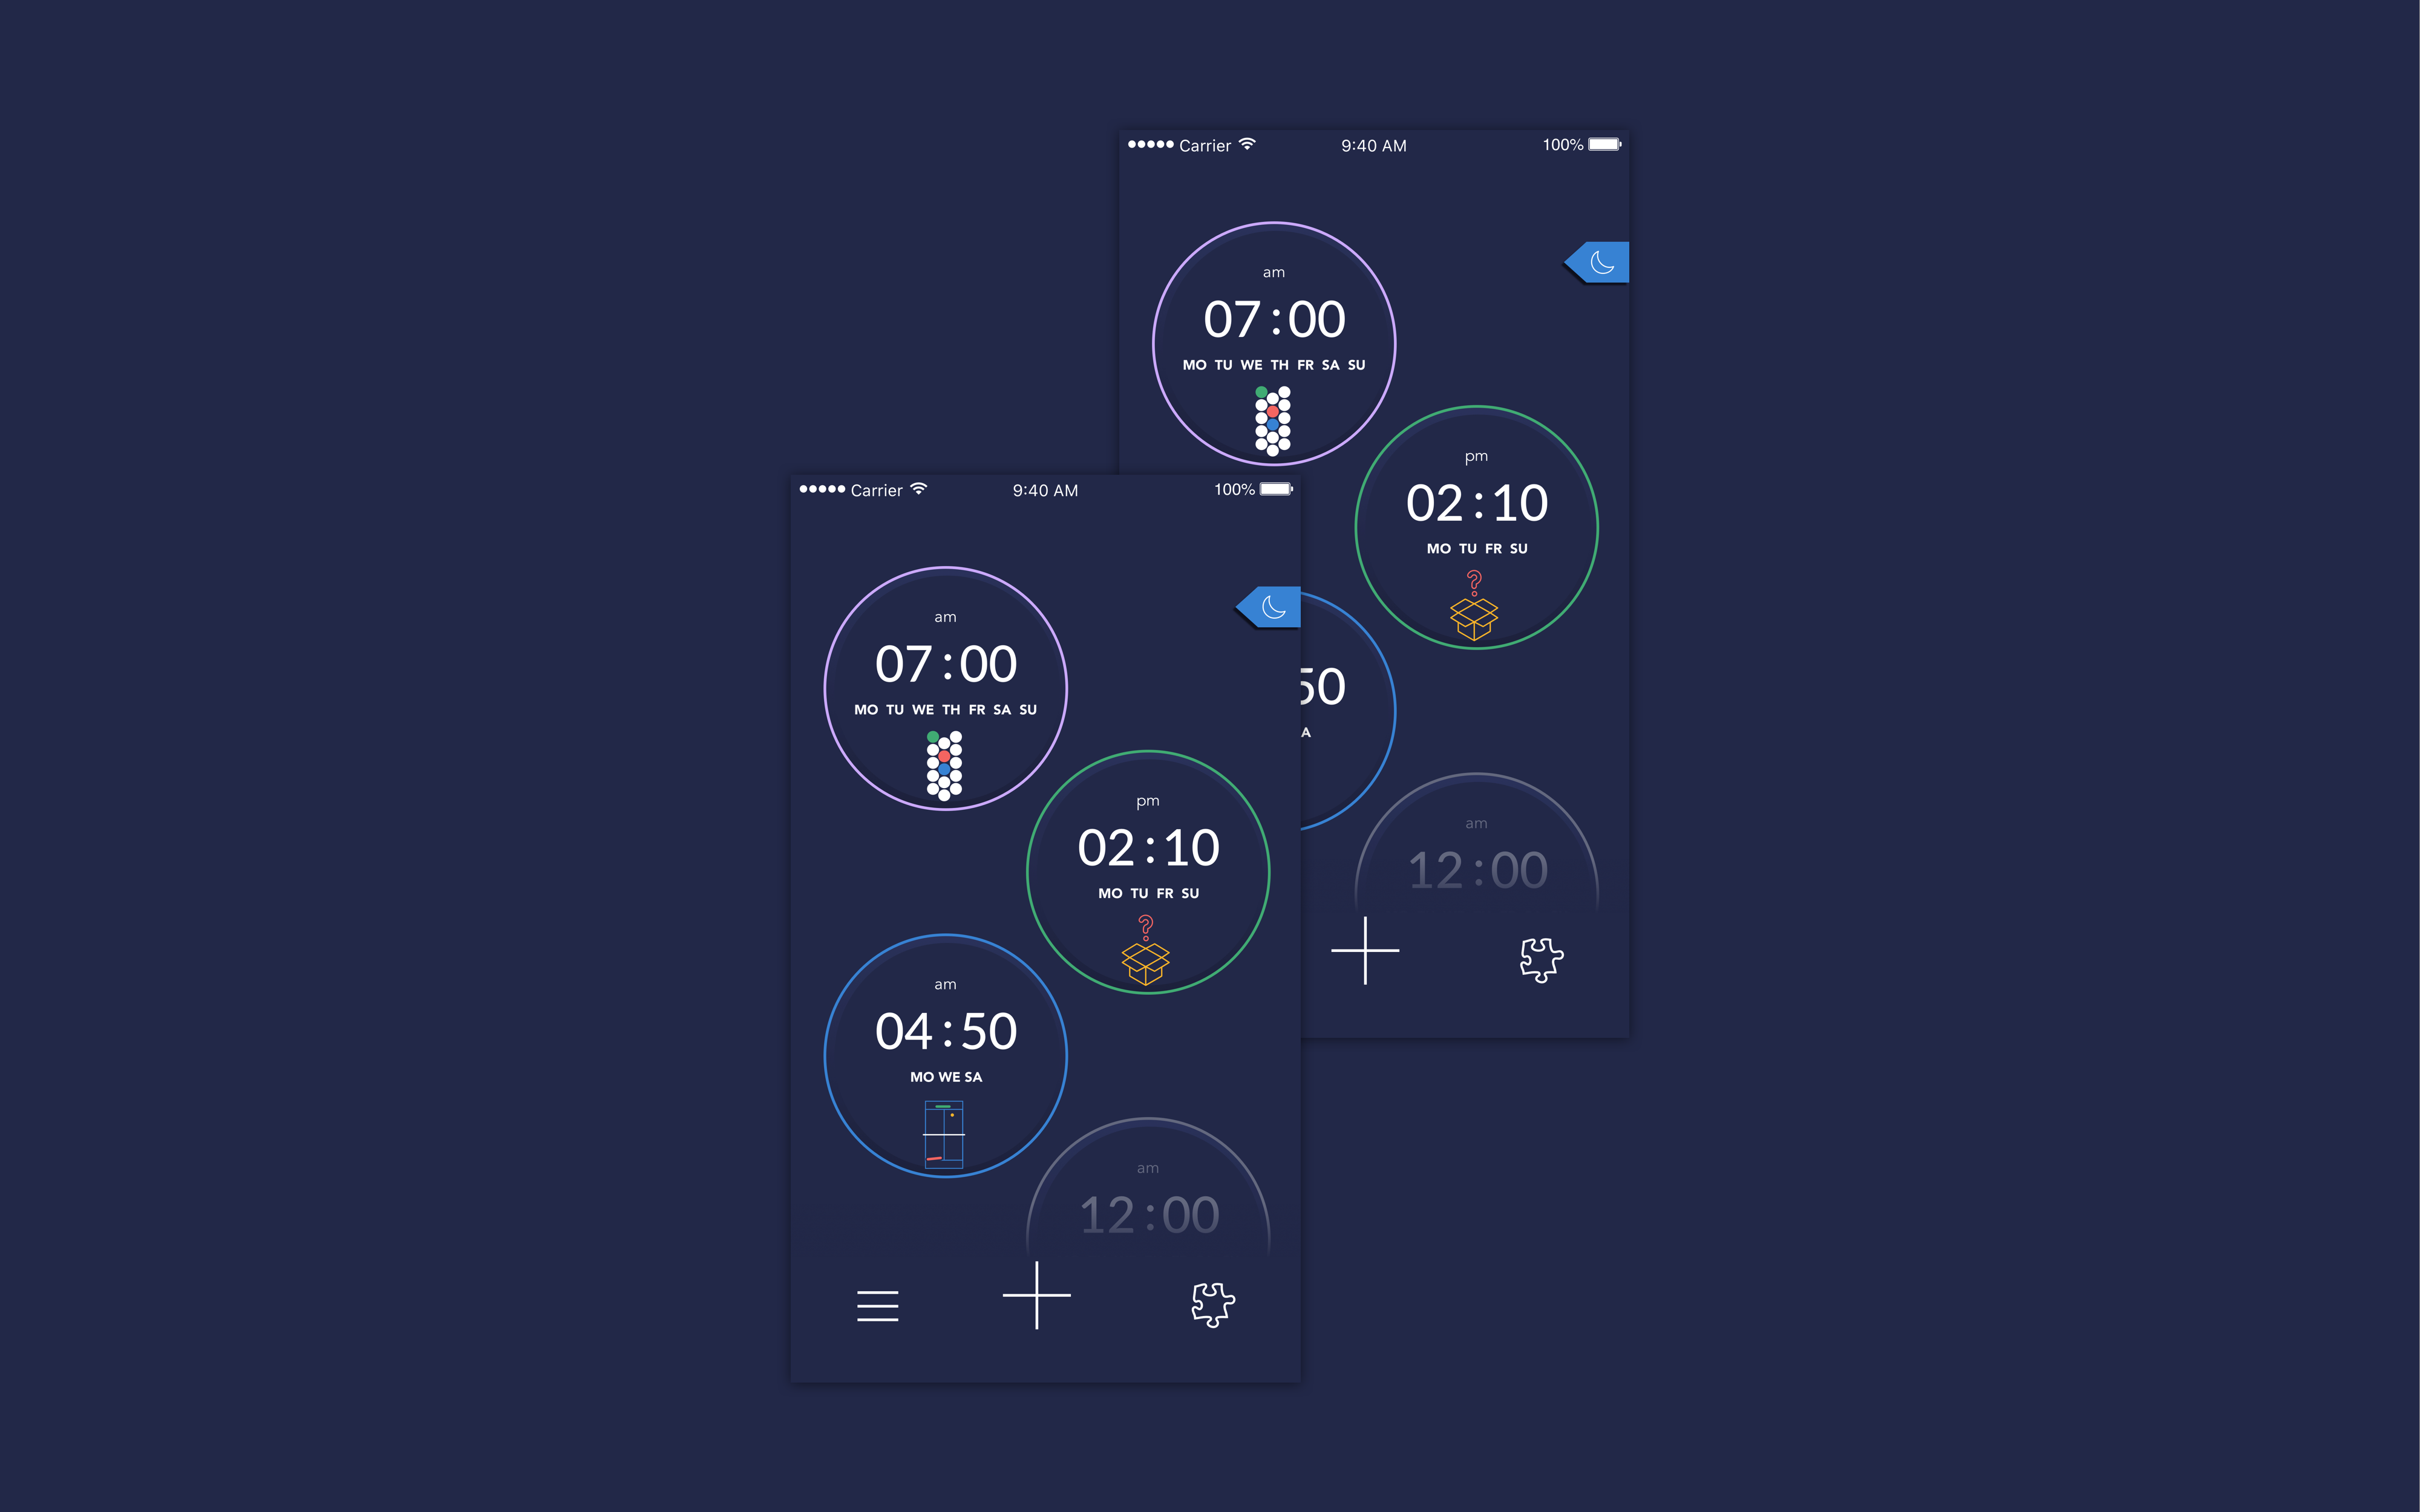
Recently, we released Early Game Alarm 2.0, available in 7 languages and with brand new design, and so we decided to share our experience with different problems we’ve encountered during (almost) 3 years of development. My previous post was about the paging layout, that we used to present the available games and game packs to users. This one will continue to tackle the subject of custom layouts and I will use a simple project to explain how we arranged circular alarms on the main screen.
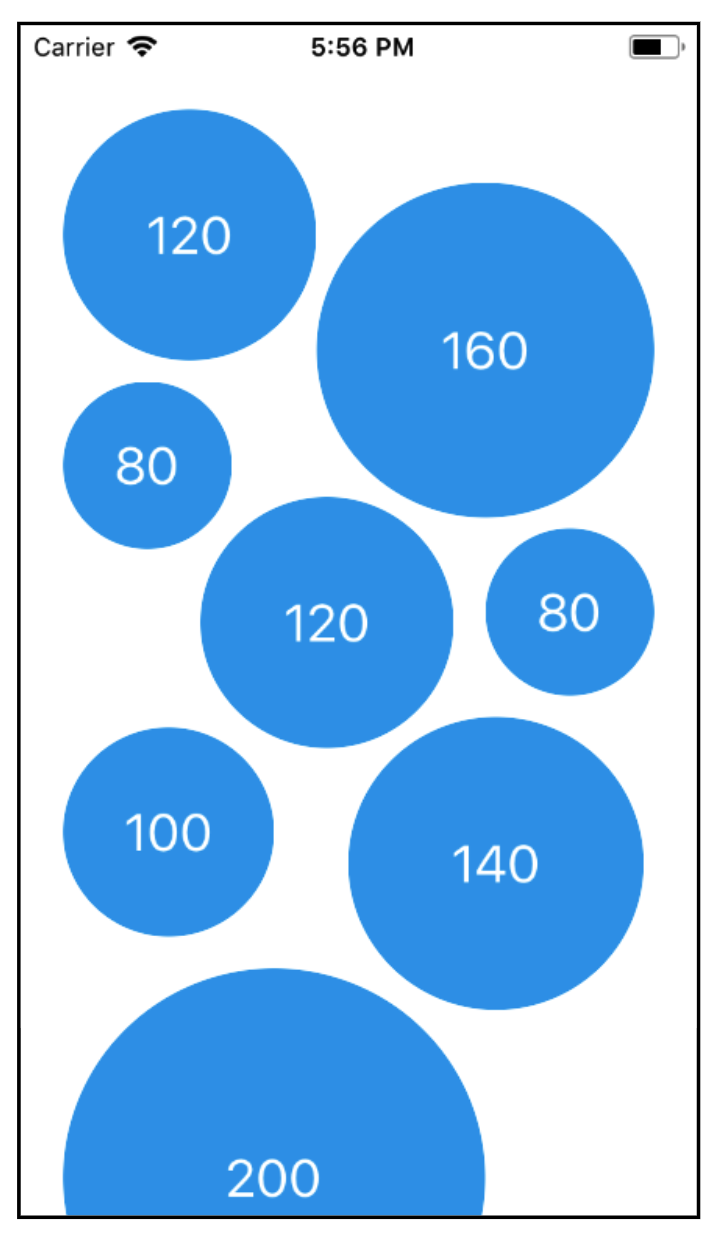
On the image above you can see how it looks in the app, and on the image below, what we’ll try to achieve in this tutorial. You can download the complete code from this link.
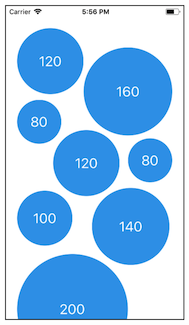
So, the task is simple: we are making a collection of blue circles of specific radius. The value of the radius is displayed on the label in the center. Ok, they don’t really have to be blue – you can pick any color you want. Let’s begin now!
Note: this tutorial is for developers who already have experience with autolayot and collection views. We will not cover every step in detail. For beginner’s tutorials I recommend starting from Ray Wenderlich tutorials.
Step 1: Storyboard settings
After creating a new project, you get one view controller (of the class ViewController) in the Storyboard. For this demo, we will use exactly that one.
Let’s add the following things to the Storyboard: 1 collection view and 1 label inside the collection view cell.
Collection view settings:
- Let’s set the top, bottom, trailing and leading constraint of the collection view to value of 0.
- Don’t forget to connect the ViewController to be data source and delegate for the collection view.
Cell settings:
- Center label horizontally and vertically in the superview (cell)
- Set pretty fonts and colors for background and text
- Set cell identifier to “CircleCell”
- Create the custom UICollectionViewCell (e.g. CircleCell) and connect outlet. You can check, for example, this post if you don’t know how.

Step 2: Data source
Now, to actually show the cells, we need to implement UICollectionViewDataSource methods. Add the following code in the ViewController.m:
// ViewController.m

@interface ViewController ()<UICollectionViewDataSource>
@property (strong, nonatomic) NSMutableArray *dataSource;
@end

@implementation ViewController

- (void)viewDidLoad {
    [super viewDidLoad];
    self.dataSource = [[NSMutableArray alloc] initWithObjects:@120, @160, @80, @120, @80, @140, @100, @200, nil];
}

#pragma mark - <UICollectionViewDataSource>

- (NSInteger)collectionView:(UICollectionView *)collectionView numberOfItemsInSection:(NSInteger)section {
    return self.dataSource.count;
}

- (UICollectionViewCell *)collectionView:(UICollectionView *)collectionView cellForItemAtIndexPath:(NSIndexPath *)indexPath {
    CircleCell *cell = [collectionView dequeueReusableCellWithReuseIdentifier:@"CircleCell" forIndexPath:indexPath];
    if (cell == nil) {
        cell = [[CircleCell alloc] init];
    }

    cell.circleLabel.text = [NSString stringWithFormat:@"%@", self.dataSource[indexPath.row]];
    cell.layer.cornerRadius = cell.frame.size.width / 2;

    return cell;
}

@end- The first one to obtain the number of cells that will be displayed on the screen
- And the second one to dequeue and configure the actual cell. Here we just set the appropriate value as the label’s text, and corner radius.
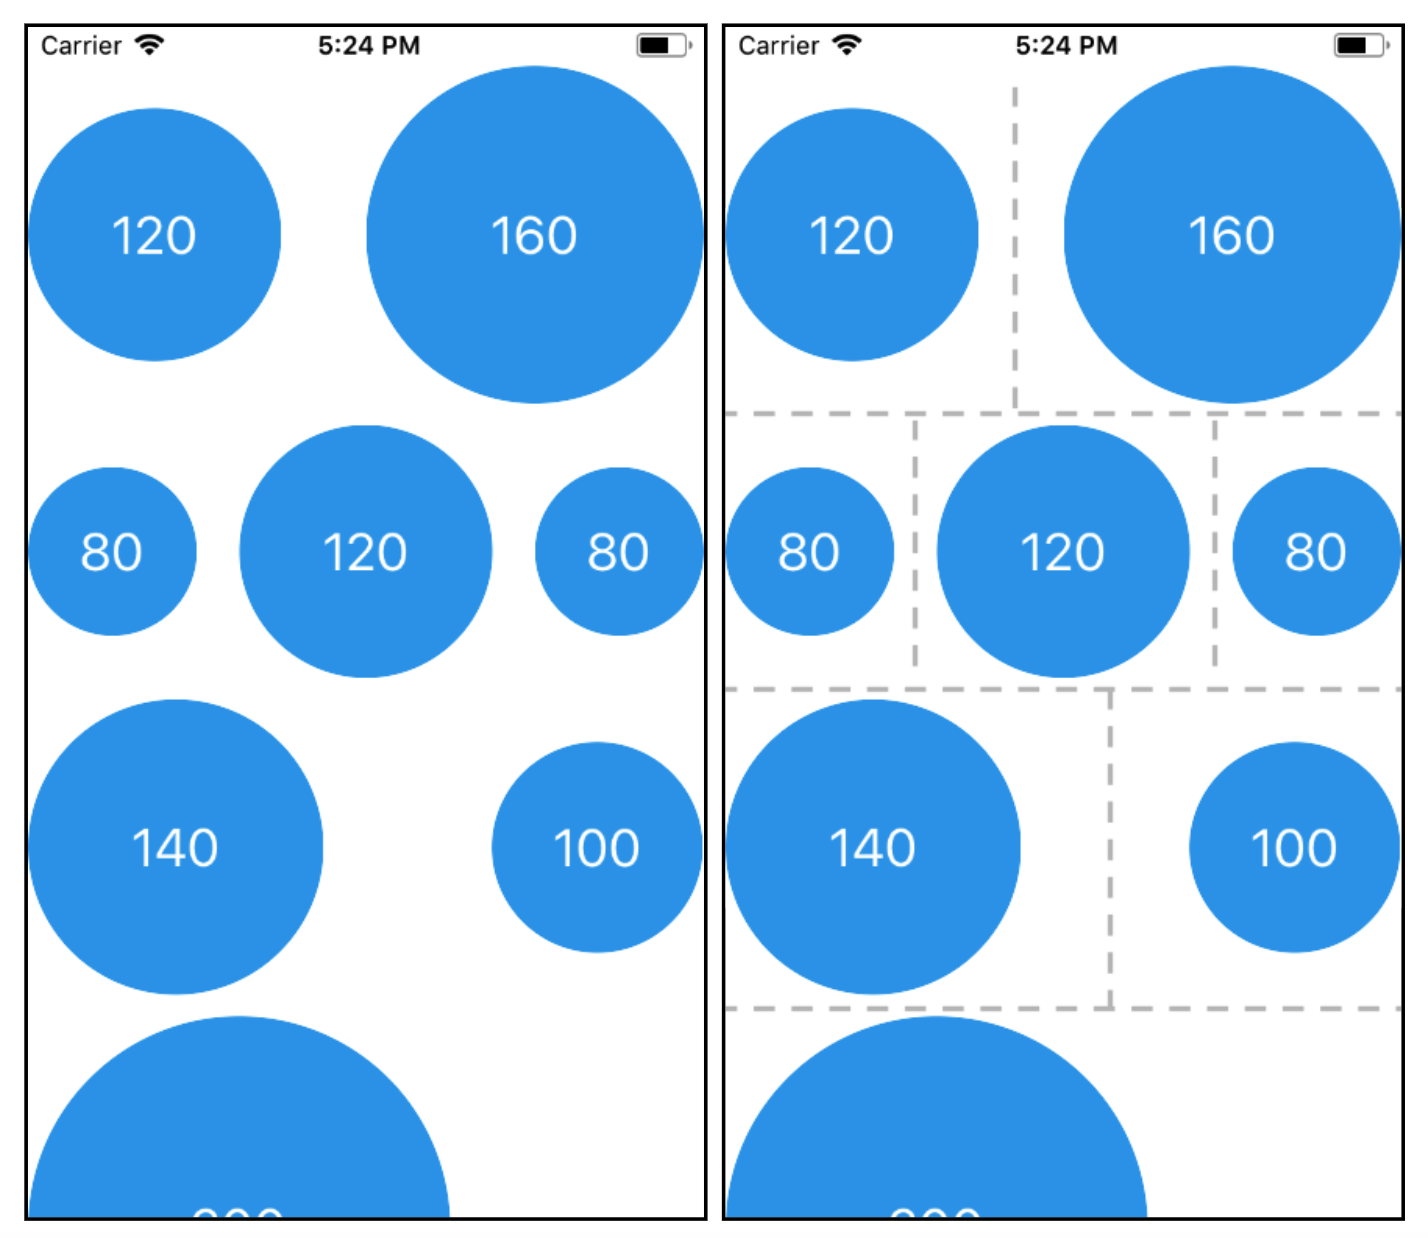
Build and run and you should see something like this:
 If the circles are not regular, you can just adjust dimensions of the cell in the Storyboard – make them square-shaped.
Ok, so we made circular shapes displaying the correct value. However, the dimensions are all wrong. So, let’s continue to the step 3.
If the circles are not regular, you can just adjust dimensions of the cell in the Storyboard – make them square-shaped.
Ok, so we made circular shapes displaying the correct value. However, the dimensions are all wrong. So, let’s continue to the step 3.
Step 3: Cell sizing
The simplest approach to set different size for every cell (which you probably already know) is to implement UICollectionViewFlowLayoutDelegate’s function: collectionView:layout:sizeForItemAtIndexPath:. Change the class declaration like this:// ViewController.m
@interface ViewController ()<UICollectionViewDataSource, UICollectionViewDelegate, UICollectionViewDelegateFlowLayout>// ViewController.m
- (CGSize)collectionView:(UICollectionView *)collectionView layout:(UICollectionViewLayout *)collectionViewLayout sizeForItemAtIndexPath:(NSIndexPath *)indexPath {
return CGSizeMake([self.dataSource[indexPath.row] doubleValue], [self.dataSource[indexPath.row] doubleValue]);
}
Step 4: Customizations
According to the docs, if out layout looks nothing like a grid or a line-based breaking layout we should subclass UICollectionViewLayout and implement the following functions:- collectionViewContentSize
- layoutAttributesForElementsInRect:
- layoutAttributesForItemAtIndexPath:
- prepareLayout
// CirclesLayout.h

@property (nonatomic, strong) NSDictionary *layoutInfo;
@property (nonatomic) float contentHeight;
@property (nonatomic) UIEdgeInsets viewInsets;
// CirclesLayout.m
- (id)init {
self = [super init];
if (self) {
[self setup];
}
return self;
}
- (id)initWithCoder:(NSCoder *)aDecoder {
self = [super initWithCoder:aDecoder];
if (self) {
[self setup];
}
return self;
}
- (void)setup {
self.viewInsets = UIEdgeInsetsMake(20, 20, 20, 20); // top, left, bottom, right
}// CirclesLayout.m
- (CGSize)collectionViewContentSize {
return CGSizeMake(self.collectionView.bounds.size.width, self.contentHeight);
}
- (UICollectionViewLayoutAttributes *)layoutAttributesForItemAtIndexPath:(NSIndexPath *)indexPath {
return self.layoutInfo[indexPath];
}
- (NSArray *)layoutAttributesForElementsInRect:(CGRect)rect {
NSMutableArray *allAttributes = [NSMutableArray arrayWithCapacity:self.layoutInfo.count];
[self.layoutInfo enumerateKeysAndObjectsUsingBlock:^(NSIndexPath *indexPath,
UICollectionViewLayoutAttributes *attributes,
BOOL *innerStop) {
if (CGRectIntersectsRect(rect, attributes.frame)) {
[allAttributes addObject:attributes];
}
}];
return allAttributes;
}// CirclesLayout.h
@property (nonatomic) float initialX;
@property (nonatomic) float initialY;// CirclesLayout.m
- (void)prepareLayout {
NSMutableDictionary *newLayoutInfo = [NSMutableDictionary dictionary];
self.contentHeight = self.viewInsets.top;
self.initialX = self.viewInsets.left;
self.initialY = self.viewInsets.top;
NSIndexPath *indexPath;
NSInteger itemCount = [self.collectionView numberOfItemsInSection:0];
for (NSInteger item = 0; item < itemCount; item++) {
indexPath = [NSIndexPath indexPathForItem:item inSection:0];
UICollectionViewLayoutAttributes *itemAttributes =
[UICollectionViewLayoutAttributes layoutAttributesForCellWithIndexPath:indexPath];
itemAttributes.frame = [self frameForCircleAtIndexPath:indexPath layoutInfo:newLayoutInfo];
newLayoutInfo[indexPath] = itemAttributes;
self.contentHeight = MAX(self.contentHeight, (itemAttributes.frame.origin.y + itemAttributes.frame.size.height));
}
self.contentHeight += self.viewInsets.bottom;
self.layoutInfo = newLayoutInfo;
}// CirclesLayout.h
#define kPositionIncrement 5// CirclesLayoyt.m
- (CGRect)frameForCircleAtIndexPath:(NSIndexPath *)indexPath layoutInfo:(NSMutableDictionary *)newLayoutInfo {
float originX = self.initialX, originY = self.initialY;
float width = [self sizeForItemAtIndexPath:indexPath].width;
CGRect circle;
circle = CGRectMake(originX, originY, width, width);
while (![self distanceConditionForItem:circle AtIndexPath:indexPath InLayout:newLayoutInfo]) {
originX += kPositionIncrement;
if (originX + width + self.viewInsets.right > self.collectionView.bounds.size.width) {
originX = self.viewInsets.left;
originY += kPositionIncrement;
}
circle = CGRectMake(originX, originY, width, width);
}
// Set initial X i Y for the next circle.
self.initialX = originX + (width / 2);
self.initialY = originY;
return CGRectMake(originX, originY, width, width);
}Size
We’ve already defined size of the circles in our ViewController; it is dictated by our data source. So we could use something like this to get this information here:- (CGSize)sizeForItemAtIndexPath:(NSIndexPath *)indexPath {
if ([[self.collectionView.delegate class] conformsToProtocol:@protocol(UICollectionViewDelegateFlowLayout)]) {
return [(id)self.collectionView.delegate collectionView:self.collectionView layout:self sizeForItemAtIndexPath:indexPath];
}
return CGSizeMake(0, 0);
}Position
For this particular layout setup, it is enough to check whether the circle collides with up to 4 predecessors. Math reminder: circles don’t collide if the distance between their centers is greater than the sum of their radiuses + optional spacing between them.// CirclesLayout.h
#define kMinSpaceBetweenCircles 10
#define kMaxPredecessorNum 4// CirclesLayout.m
- (BOOL)distanceConditionForItem:(CGRect)circle AtIndexPath:(NSIndexPath *)indexPath InLayout:(NSMutableDictionary *)newLayoutInfo {
BOOL condition = YES;
long numPredecessors = indexPath.row;
if (indexPath.row >= kMaxPredecessorNum) {
numPredecessors = kMaxPredecessorNum;
}
for (int i = 1; i <= numPredecessors; i++) {
NSIndexPath *ip = [NSIndexPath indexPathForItem:(MAX(indexPath.row - i, 0)) inSection:0];
UICollectionViewLayoutAttributes *attr = newLayoutInfo[ip];
condition = condition && [self distanceBetween:circle and:attr.frame isLargerThan:kMinSpaceBetweenCircles];
}
return condition;
}
- (BOOL)distanceBetween:(CGRect)circle1 and:(CGRect)circle2 isLargerThan:(float)delta {
float r1 = circle1.size.width / 2;
float cx1 = circle1.origin.x + r1;
float cy1 = circle1.origin.y + r1;
float r2 = circle2.size.width / 2;
float cx2 = circle2.origin.x + r2;
float cy2 = circle2.origin.y + r2;
float d = sqrt((pow(cx1 - cx2, 2) + pow(cy1 - cy2, 2)));
return (d >= r1 + r2 + delta);
}Final steps
Go to the Storyboard and set the collection view to use the custom layout we just made.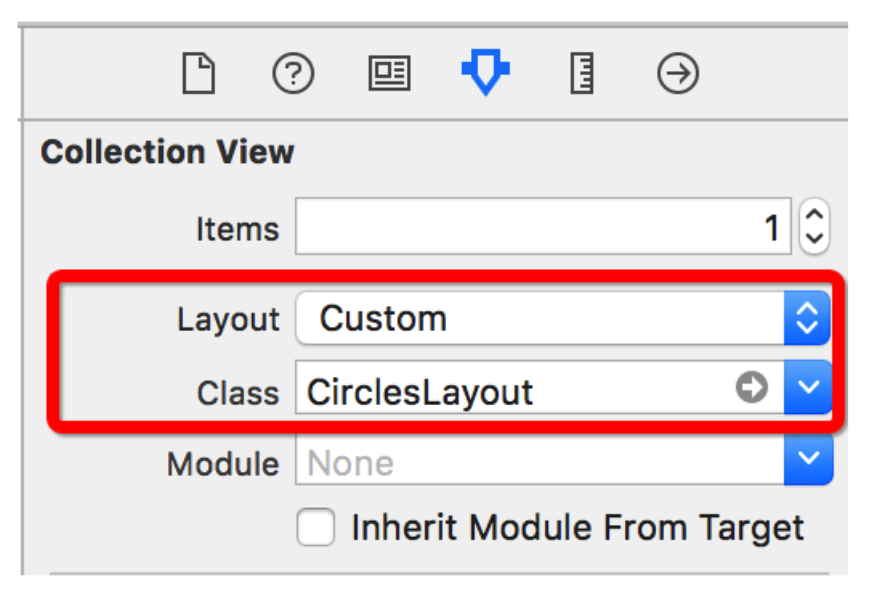 Build and run, and that’s it!

Your Amazon store needs a partner
We build and grow your Shopify DTC business together with Amazon.
Find out how to own your audience and not depend only on Amazon high fees.

Best Amazon FBA course: Top picks for 2025

Connect Shopify to Amazon: Step-by-step in 2025

C2B e-commerce